October 27, 2026
How to Organize Unfinished Model Projects and Missing Parts
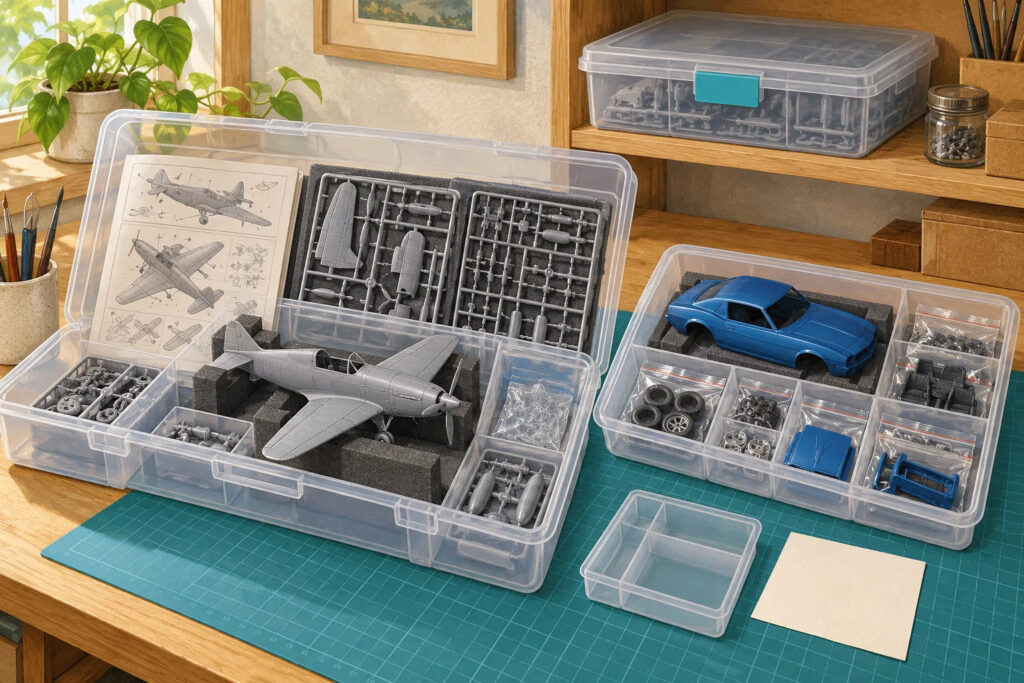
Cover: AI-generated editorial illustration.
A half-built model is much easier to finish when you can find its parts and remember the next step. Give every unfinished project one container, one status card, and one specific next action. Keep missing parts on a separate list with the kit number and part reference, rather than trusting a note that says “needs a wheel.”
You do not need a workshop overhaul to begin. Start with the three projects you are most likely to touch again. Organize those completely before opening every box in the closet. The goal is a bench you can return to comfortably, with less searching and fewer purchases made because something has disappeared into another kit.
In this guide
- Sort projects by what is actually stopping them
- Give each model a container and a project number
- Make a restart card that answers five questions
- Keep loose parts traceable
- Turn a missing part into a usable request
- Separate the active bench from the project archive
- Restart with a small, visible result
- Frequently asked questions
- Sources and useful references
Sort projects by what is actually stopping them
“Unfinished” describes several different problems. A model waiting for its paint to cure needs different treatment from a kit missing its canopy or a project you no longer enjoy. Put a short reason on each box before deciding where it belongs.
| Project state | What belongs on its card | Useful next action |
|---|---|---|
| Ready to continue | Last completed instruction step | Lay out the next subassembly |
| Waiting for a part | Exact missing part and request status | Identify the replacement source |
| Waiting for a technique | The specific unfamiliar task | Practice that task on spare material |
| Waiting for space | Finished dimensions or temporary storage need | Clear one protected storage position |
| Paused by choice | What would make the build appealing again | Store it fully documented |
Resist assigning a completion date to everything. A deadline does little for a build with an unidentified part. First remove the obstacle; then decide when the work fits your available time.
Give each model a container and a project number
Use the original kit box when it is strong enough and closes without touching the model. Otherwise choose a rigid container with room for the widest existing subassembly. A painted body shell should not become the lid support for a pile of sprues. Keep delicate parts in a smaller protected compartment, with no loose tools sliding around beside them.

A short identifier such as P014 is easier to repeat than a long model name. Put it on the main box, the instruction folder, each loose-parts bag, and the digital photo folder. Add the subject, manufacturer, scale, and kit number. Two different releases of the same aircraft can have different sprues and decals; the kit number is what prevents an apparently plausible mix-up.
Store paints and adhesives in their appropriate supply storage, not loose inside the project box. Record the product and color codes on the project card. You want the box to contain the build, its documentation, and the components that belong to it.
Make a restart card that answers five questions
Place the card where you see it as soon as the box opens. Paper is convenient at the bench, while a phone photograph provides a backup. Keep it short enough that updating it never feels like another hobby.
- Where did I stop? Record the instruction step and what is already attached.
- What has changed? Note omitted parts, alternative markings, drilling, and any departure from the instructions.
- What finish is on it? Record primer, paint line, color code, and clear coat when known.
- What is missing or uncertain? Identify the exact component, not just the general area.
- What is the next physical action? Write something you can do at the bench, such as “dry-fit left cockpit wall.”
For example: “P014, 1/24 coupe, kit 12345. Chassis through step 6. Interior painted satin black; dashboard unattached. Left mirror part C12 missing. Next: check windshield fit before attaching dashboard.” The numbers are illustrative, but the level of detail is what matters.
Keep loose parts traceable
Where practical, leave unused pieces on labeled sprues. Bag already removed pieces by subassembly rather than by shape: cockpit, suspension, body trim, or running gear. A bag of four near-identical struts is more useful when it says where they came from.
Place transparent parts in their own clean protective packaging and keep decals flat with the kit documentation. Avoid sticking labels directly onto visible model surfaces. Use an external tag or the container instead. If you have painted tiny components, allow the finish to cure according to the product instructions before packing them against anything.
Take two photographs before closing the project: an overview of everything in the box and a closer view of unusual assemblies or unresolved fit questions. These images should answer “what did I mean?” months later, not serve as a polished build gallery.
Turn a missing part into a usable request
First compare the instructions with every sprue and bag. Some parts appear more than once, and optional versions can be easy to confuse. Check the underside of the work mat and the inside of packaging before ordering a replacement.
Prepare the manufacturer, full kit number, sprue letter, part number, and a clear description. Photograph the instruction callout when that helps identify it. Revell provides an official download center with model-kit instructions and a replacement-parts request page; availability and the applicable service process still need checking for your exact kit and location.
If an original replacement is unavailable, compare an aftermarket part, a donor kit, or a scratch-built substitute. Check dimensions and attachment points before assuming the same subject and scale mean a direct fit. Do not dismantle another promising model for a donor part until you have decided which build matters more.
Separate the active bench from the project archive
Keep one main build and, if useful, one small secondary task within immediate reach. Archive the rest with their cards facing outward. This is a practical space limit, not a rule about how many hobbies you are allowed to enjoy.
Use a simple shelf map: shelf A for active builds, shelf B for documented pauses, shelf C for spare material. Give unidentified pieces a small temporary sorting box with a date. At your next cleanup, identify them or deliberately move them into a labeled spare-parts category. A permanent mystery box only postpones the problem.
Before buying storage, compare the actual size of your boxes with the available shelf depth. If the supply area is the bottleneck, the hobby tools and supplies buying guide can help you separate useful basics from equipment your current projects do not need.
Restart with a small, visible result
Open the chosen project, read its card, and check that the written next action still makes sense. Spend the first session resolving one fit question or completing one subassembly. A successful restart does not require finishing the entire model that evening.
When you stop, update the card before putting the lid on. Replace “continue painting” with “paint the two rear wheel centers using the recorded silver.” That one sentence makes the next session easier and keeps the organized box from slowly becoming an unsorted box again.
Frequently asked questions
Should I throw away the original model box?
Keep it if it protects the project and preserves useful identification. If it is damaged or too small, transfer the kit details, instructions, decals, and loose components into a suitable rigid container before recycling the empty packaging.
How should I store a model when I cannot remember the paint used?
Mark the finish as unknown and save clear photographs. Test any proposed next product on an inconspicuous area or a separate sample before applying it broadly. Do not invent a paint code just to complete the record.
What if I have too many unfinished models?
Choose one that is both appealing and close to a manageable next step. Document and store the others. Reconsider unwanted projects individually; you do not need to finish everything before enjoying a new build.


