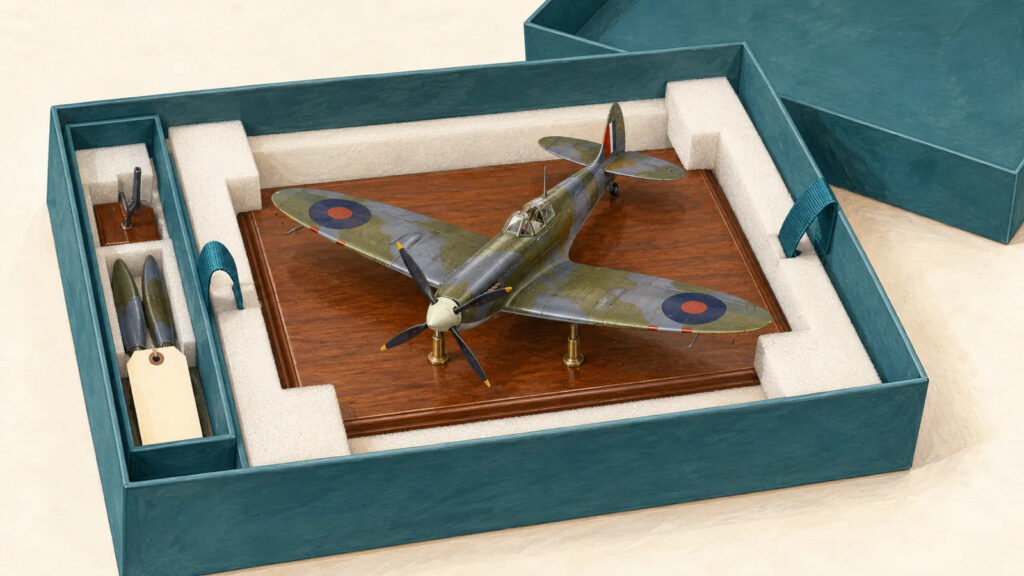
Cover: AI-generated editorial illustration.
Pack a finished model by supporting its strongest parts, leaving clearance around delicate details, and preventing movement inside a rigid container. A good carrying box should make it obvious how to lift the model out without touching mirrors, antennas, rigging, weapons, or fresh paint. Start with the model’s shape and construction, then choose the packing materials.
A drive to a hobby show and a parcel shipment need different preparations. For a show, you control how the box is carried and placed. During a move or courier shipment, other people may lift, stack, or turn it. The Canadian Conservation Institute’s packing guidance identifies impact, vibration, abrasion, and environmental changes as separate risks. Thinking about those risks individually is more useful than simply adding more padding.
In this guide
Inspect the model before choosing a box
Set the model on a clear table and photograph it from several angles. Note anything already loose, any removable accessories, and the places where you normally hold it. Those photographs help you rebuild the display at the destination and distinguish an existing flaw from travel damage.
Measure the complete model, including its base, raised gun barrel, wing tips, aerials, or opened doors. Then measure the lift-out space your hands need. A box that fits the model but does not let you reach underneath it is too cramped.
- Strong support areas: a substantial display base, a robust chassis, or a broad structural underside that can accept gentle support.
- No-contact areas: thin rails, landing gear doors, mirrors, rigging, photo-etched parts, small flags, and weathering that may rub away.
- Loose items: removable figures, spare accessories, display labels, and parts intentionally designed to detach.
Do not pull off a glued component just because packing would be easier without it. Remove only parts that were designed to come apart and that you can reinstall safely.
Match the support to the model
| Model | Useful support approach | Keep pressure away from |
|---|---|---|
| Car mounted to a sturdy display base | Restrain the base in a fitted compartment | Roof, mirrors, exhaust tips, and opening panels |
| Plastic car with delicate axles | A shaped cradle under suitable chassis areas | Suspension, body trim, and unsupported wheels |
| Aircraft | Custom supports under strong structural areas, with room for wings | Antennas, propellers, landing gear, and wing-tip details |
| Painted miniature | A tray or secure base system sized for its actual pose | Raised weapons, banners, and textured paint |
| Diorama | Restrain the substantial base rather than the scenery | Trees, figures, water effects, and buildings attached weakly to the base |
| Locomotive or rolling stock | Its original fitted packaging if still sound and compatible with modifications | Handrails, couplers, pantographs, and added details |
Original packaging is worth trying first, but a modified model may no longer fit its factory insert. Check rather than forcing it in. An insert made for a body without added mirrors or aerials can now press directly on those additions.
Build a removable tray or cradle
A removable tray makes packing easier because you can work outside the box. Use a rigid platform that supports the load without flexing, then arrange the model supports on it. Leave finger space or add handles to the tray itself. Test those handles with the empty support assembly before placing a model on it.
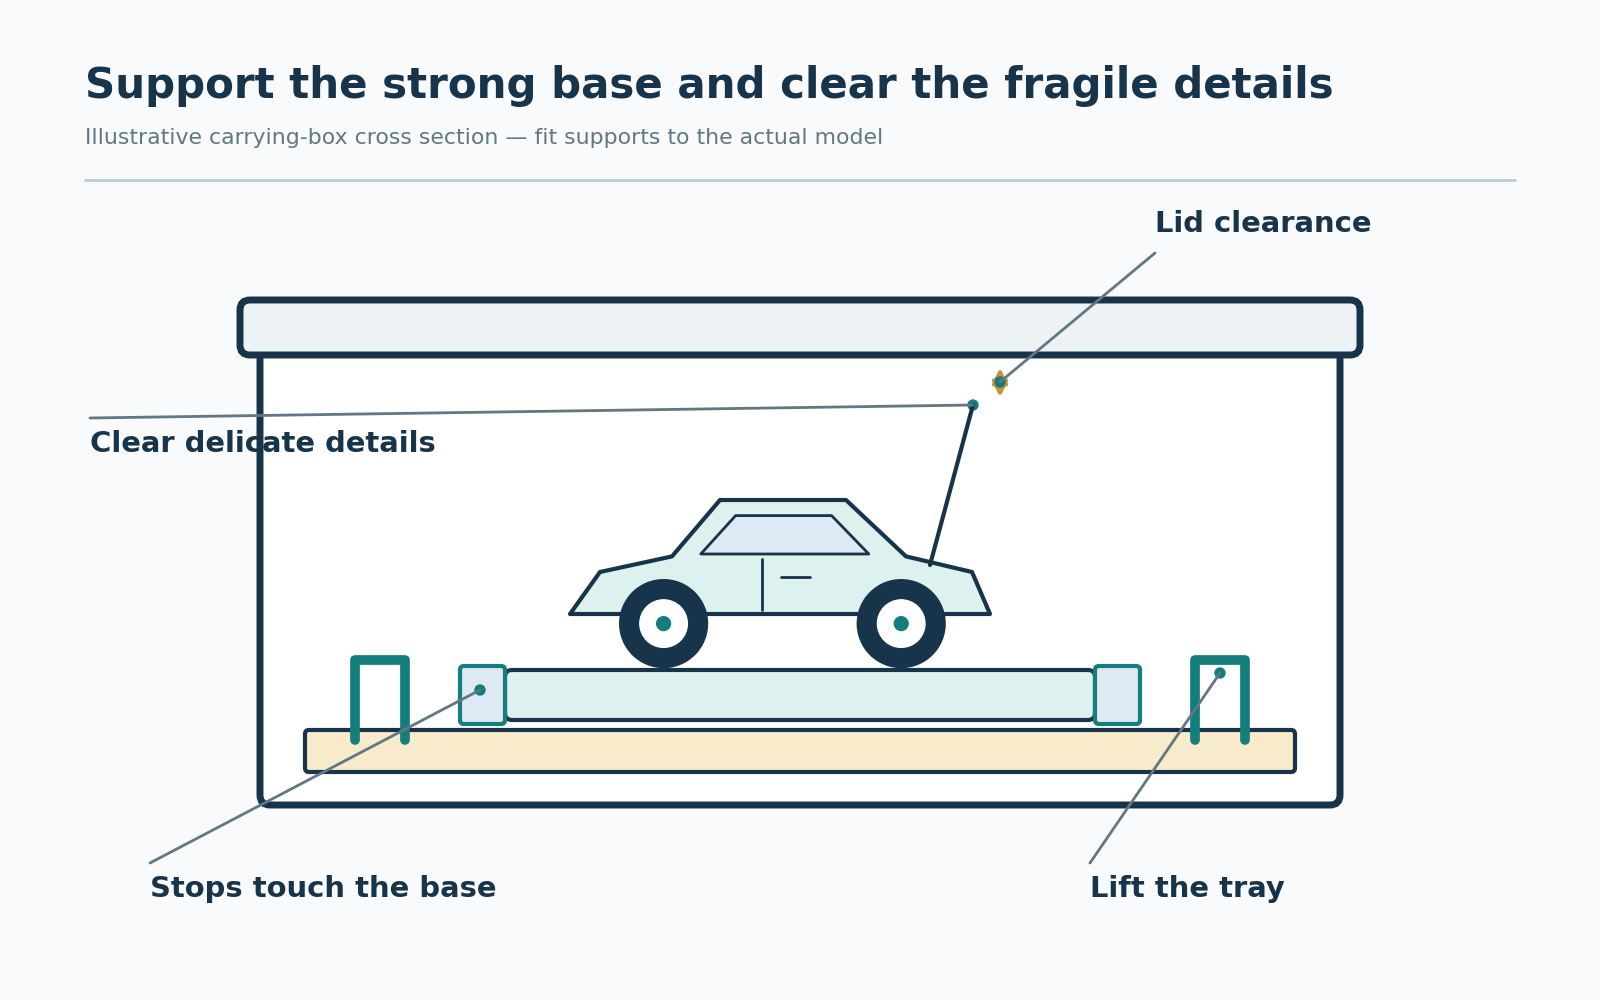
For a model fixed to a robust display base, padded stops can locate the base on the tray. For an unmounted model, shape the cradle so it touches suitable structural areas and avoids details. Check from the side: padding that appears clear from above may still push against an exhaust, railing, or underside part.
Use clean materials that will not shed grit against the finish. Closed-cell polyethylene foam is an option for custom supports; its firmness and contact area still need to suit the model. Foam color alone does not establish its composition or suitability. Avoid using unidentified, sticky, crumbling, or strongly scented foam against a finished piece. The CCI guide to materials used in preventive conservation explains why the materials touching an object deserve particular attention.
Restraints belong on a sound base or other deliberately chosen support point. Do not run tape across a painted body, decal, clear canopy, or finished scenic surface. If you cannot prevent movement without pressing on delicate parts, redesign the support instead of tightening the packing.
Choose the outer container and check the lid
Choose a rigid box with a secure closure and enough room for the complete tray. A small box inside a much larger container is not protected if the smaller one can slide freely. Locate the tray securely while keeping outside pressure from transferring directly into the model.
Check the lid’s underside for ribs, handles, and fittings. Measure clearance at the tallest point of the model. Close the empty container with the supports installed first, then check the occupied arrangement without pushing down on the lid. The lid should close normally, with no model part serving as a stop.
A display cover is not automatically a shipping case. A clear cover may lift off its base, crack under another box, or leave the model free to move. Treat it as one part of the packing system unless its manufacturer specifically describes a transport function.
Pack accessories so nothing goes missing
Give each removable item a labeled compartment. Small bags are useful for robust accessories, but fragile painted parts may need separate supported spaces. Put the model’s identifier on the accessory container and on the tray so two similar models cannot exchange parts accidentally.
Keep instructions, entry forms, and photographs in a sleeve separate from the model. If a display label uses a clip or metal stand, pack that separately as well. A loose label holder can become the hardest object in the box.
Do a gentle handling check
- Photograph the packed arrangement before closing the lid.
- Lift the closed container just above the table, keeping it level.
- Carry it a short distance as you would at the show.
- Set it down gently and reopen it.
- Check whether the tray, base, accessories, or model changed position.
This is a basic fit check, not a drop test or proof that a package can survive shipping. Do not shake a finished model to see what breaks. Movement during ordinary gentle handling is enough reason to improve the supports.
Plan the trip and unpacking
Put heavier packing containers low and keep other luggage from pressing on model boxes. Secure the containers against sliding while preserving access to handles. Choose a location out of direct sun and avoid leaving models in a parked vehicle unnecessarily. A label saying “upright” helps a person handle a box; it does not physically keep the contents upright.
For a hobby show, take a small kit with your display paperwork, a clean cloth for the base, and the specific tools needed to reinstall removable accessories. Keep adhesives and other liquids in their own appropriate containers, separate from the finished pieces. If the trip includes flying, check the guidance in our portable hobby kit article before packing tools or supplies.
At the destination, clear the receiving table before opening anything. Remove the lid completely, consult the packing photograph, and lift the tray first. Work on one model at a time. Save the packing arrangement for the return trip instead of combining all the empty boxes into a pile.
For a house move or parcel shipment
Prepare a box list that identifies the model, its accessories, its destination shelf, and its unpacking order. Tell anyone helping which containers must stay accessible. If movers or couriers will handle the package, the design must account for handling you do not control. A show tray that works in your own car may be inadequate.
The CCI’s technical bulletin on protective transport packaging discusses the relationship between an object, its supports, cushioning, and the outer container. For an especially delicate, valuable, or unstable model, arrange packing advice suited to that particular piece and transport route.
Frequently asked questions
Should I wrap a finished model in bubble wrap?
Do not press wrapping directly against delicate details or a finish that could mark. Bubble wrap may be useful around a protected inner container, but the model itself needs supports appropriate to its shape.
Can I use the original kit box?
Only if the finished model fits with suitable supports and clearance. A kit box originally held flat sprues, not the assembled model, so its dimensions and strength may be wrong.
Should a painted miniature touch the foam?
That depends on its finish, shape, and the tray. Avoid contact that rubs the paint or bends projecting details. Test the fit gently and choose a different support method when the pose does not fit the compartment.
How do I remember where everything belongs?
Photograph each packed tray, label removable accessories with the model’s identifier, and keep an unpacking note with the box. The same record helps when you pack for the next event.
For a broader collection plan, start with LootBandit’s hobby buying guides. If the models will return to a cabinet, measure their complete display footprint before rearranging the shelves.


