October 27, 2026
Returning to Model Building After a Long Break: Where to Begin

Cover: A complete kit, a clear work surface and a small set of tools make a practical starting point. AI-generated editorial illustration.
Start your return to model building with one complete kit, a few dependable tools, and a finish you can explain in a sentence. Give yourself room to relearn handling, cleanup, assembly, and painting before adding unfamiliar materials. A modest project that reaches the display shelf tells you much more about your current needs than a shopping cart full of equipment.
If you last built models years ago, you may recognize the pleasure of opening the box immediately. Your available time, workspace, eyesight, and favorite subjects may have changed, though. Build around the way you live now. You can keep the subjects you love while choosing a more comfortable way to make them.
In this guide
- Choose the experience you want from your first project
- Give your old kit and tools a short inspection
- Decide whether to resume an old model or start fresh
- Set up a bench you can use again tomorrow
- Buy the tools needed for the next step
- Use three comfortable stages to rebuild confidence
- Choose one improvement for the second build
- Frequently asked questions
- Sources and further reading
Choose the experience you want from your first project
Before choosing a kit, decide what would make the return enjoyable. Perhaps you want a familiar aircraft on the shelf, an evening assembling a colorful robot, or a model of a car you once owned. That preference should guide the project more than the amount of detail advertised on the box.
Write a short brief: “I want to build a complete model using the kit parts, brush-paint the details, and learn whether I enjoy painting the exterior.” This sets a useful boundary. Extra wiring, replacement wheels, elaborate weathering, and a custom display base can wait for a project where they are part of the plan.
Look at the instructions before buying when the manufacturer makes them available. Check the assembly method, small parts, paint requirements, and finished dimensions. Airfix, for example, explains its own skill ratings from 1 to 4; these are a useful guide within that brand, rather than a universal measure shared by every manufacturer. Our plastic model kit buying guide helps you compare the other details that affect the build.
Give your old kit and tools a short inspection
Open the old supply box on a clear table. Separate solid tools, bottled materials, decals, and loose parts. You are checking whether each item can support the next project, so you only need a small working selection.
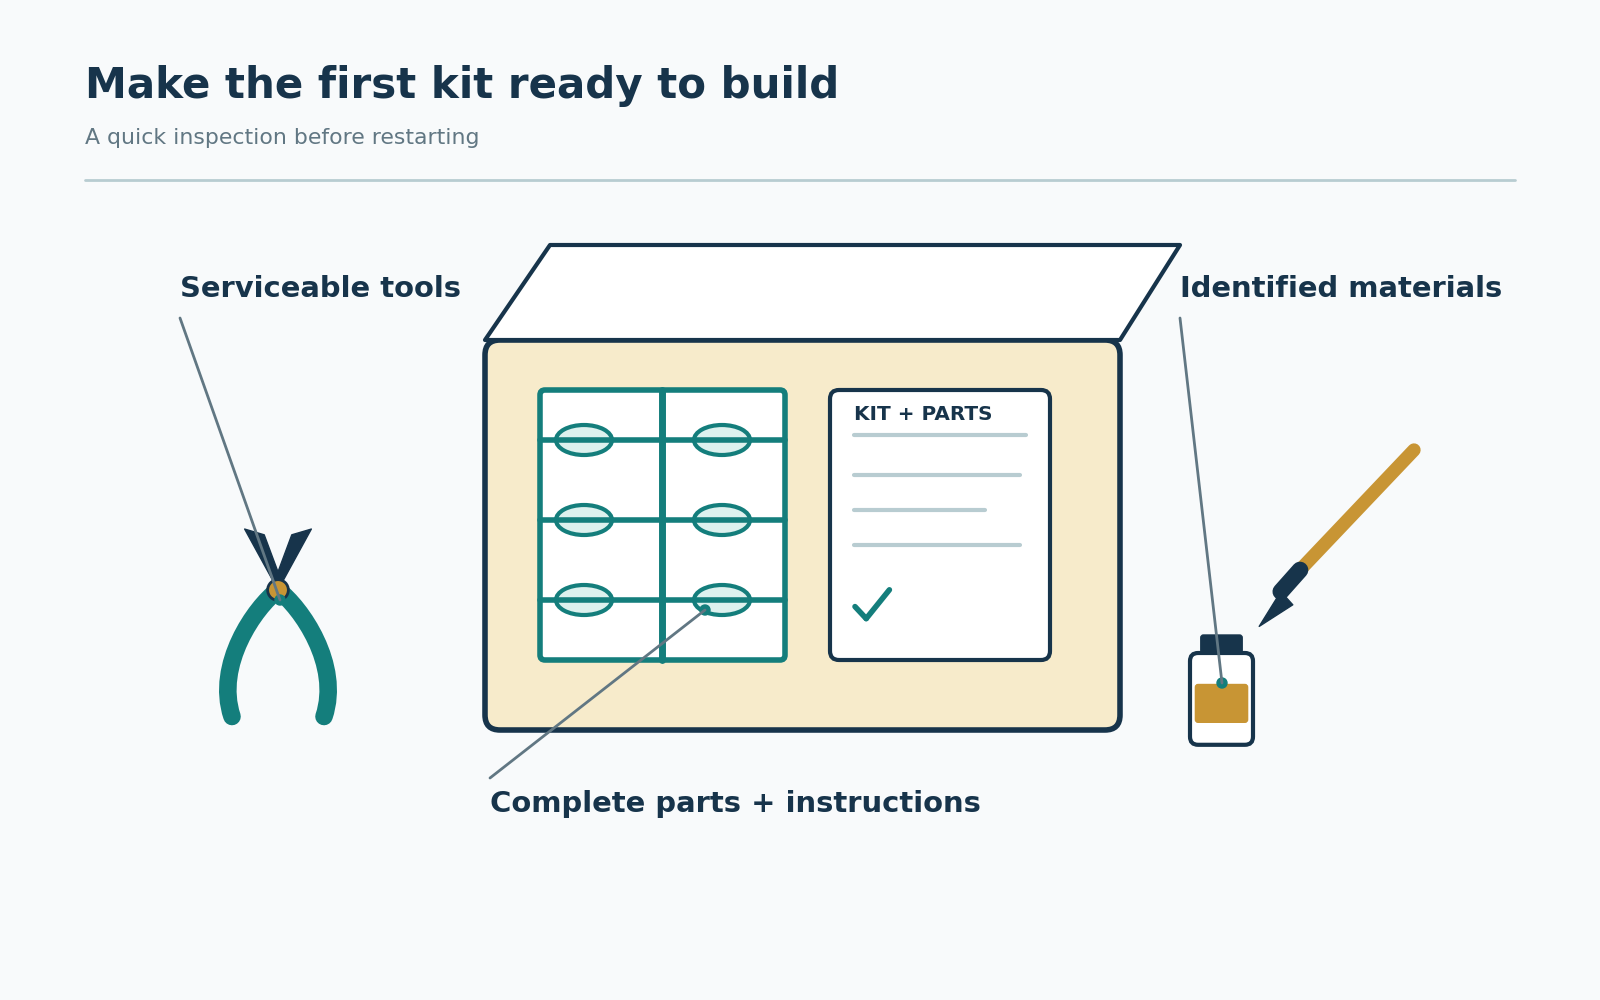
| Item | What to check | Next step |
|---|---|---|
| Kit parts and instructions | Missing pieces, warped parts, damaged clear pieces, and the correct instruction sheet | Inventory against the parts diagram before committing to the build |
| Cutters, tweezers, and knife handle | Secure joints, damaged tips, corrosion, and a handle that grips its blade properly | Keep serviceable tools; replace damaged tools or consumable blades as appropriate |
| Paint and adhesive | Legible identity, intact container, leaks, and the manufacturer’s storage guidance | Set aside unidentified or compromised material; test usable material on spare plastic first |
| Decals | Creases, moisture damage, yellowing, or an obviously damaged carrier film | Protect the sheet and test a spare marking before relying on the main artwork |
| Brushes and abrasives | Useful bristle shape, contamination, and remaining abrasive surface | Keep a small selection that performs the job cleanly |
Age alone does not tell you whether a particular bottle is usable. Equally, a familiar label does not guarantee that the material has survived its storage conditions. Avoid adding an improvised solvent to an unknown product. Health Canada’s arts and crafts safety guidance recommends keeping materials in labeled original containers, following storage instructions, and asking the local waste facility about disposal of hazardous leftovers.
Decide whether to resume an old model or start fresh
An unfinished model can be a good return project when the parts are present, you understand what has already been done, and the remaining work appeals to you. Photograph it, mark the last completed instruction step, and list the next three actions. If you can do that confidently, it is a workable candidate.
A fresh kit may be easier when the older build has missing parts, an unknown paint system, or a major repair that would dominate the experience. Put the older model in a labeled project box with its notes. Preserving it as a future restoration is a valid decision; you can return with more confidence and a clearer repair plan.
Set up a bench you can use again tomorrow
You need enough space to place the model down safely, read the instructions, and reach the tools without moving fragile subassemblies. A cutting mat, shallow parts tray, adjustable lamp, and covered project box can make a shared table workable. Keep the instructions upright or beside the mat so you can see the current step.
Plan where the model will sit between sessions before opening the cement. Check that the storage box accommodates the finished width as well as the parts you are assembling today. A tray that handles an aircraft fuselage may become too small once the wings are attached.
Match ventilation and protective measures to the actual materials and process. Brush painting, aerosol spraying, and sanding different materials have different requirements. Follow the product label and safety data sheet. Keep food and drinks away from the work area, close bottles after use, and store tools and materials where children and pets cannot reach them.
Buy the tools needed for the next step
A basic assembly kit usually means appropriate cutters, a suitable knife or cleanup tool, a protected work surface, useful abrasives, and an adhesive matched to the parts. Add brushes and the specified paint system if the project needs them. Tamiya’s basic modeling guide explains these tool categories and distinguishes adhesives intended for different materials.
An airbrush is optional for your first return project. Brush painting or a kit designed to display in molded colors may suit your available space and interests. If you later choose an airbrush, assess the complete setup, including cleaning, air supply, and appropriate ventilation, before buying the airbrush alone.
Use the hobby tools and supplies guide to make a short list. Every item on that list should answer a current need: cutting this material, holding this part, or painting this surface.
Use three comfortable stages to rebuild confidence
- Inspect and prepare. Read the instructions, identify the parts for the first assembly, and practice cleanup on a spare piece. Test fit the main joints without adhesive where the design permits.
- Build a small complete section. Finish an interior, chassis, torso, or other manageable assembly. Take a photo and note any fit adjustment or paint choice you want to remember.
- Complete the planned finish. Follow the coating and adhesive instructions, allow the specified drying or curing intervals, and attach vulnerable details when the assembly sequence calls for them.
These stages may each take several sessions. Stop at a point where the model can be stored safely. Leave a note such as “Next: test fit the left door before painting its hinge.” That sentence makes restarting much easier than trying to reconstruct what you were thinking.
Choose one improvement for the second build
When the model is finished, look at it under ordinary display light. Pick one thing you enjoyed and one skill you would like to improve. Perhaps the assembly was satisfying but the masking felt awkward. Your next project can give you more masking practice without also introducing five new techniques.
Keep the first completed model. It records where you restarted, and it gives later projects a useful point of comparison. The goal for the next build can stay small: cleaner seams, more controlled brushwork, or better organization of parts.
Frequently asked questions
Should I buy the same model I built as a child?
It can be a rewarding choice if you want that subject again. Check the exact kit and instructions first, because a familiar aircraft or car may come from a different tooling or require a different build process.
Can I return to modeling without painting?
Yes. Choose a kit specifically designed to look complete in its molded colors, and confirm whether it uses stickers, decals, or additional finishing materials. You can add painting to a later project.
How do I know whether old paint is usable?
Confirm its identity, inspect the container, follow the manufacturer’s guidance, and test it on spare material. Replace unidentified or compromised products instead of trying an improvised recovery mixture.
What if the first model has mistakes?
Finish the intended project where practical and write down one useful lesson. A completed model with a few imperfections provides a clearer starting point for improvement than repeatedly restarting the same difficult step.
Sources and further reading
Products to compare for this project
As an Amazon Associate I earn from qualifying purchases. LootBandit and Muncle Mikes share ownership. Read our disclosure.

Tamiya Basic Tool Set – 74016
A compact basic modeling tool set. Compare its contents with the tools your chosen project requires and what you already own.
Check the exact product, package contents, seller, and current order terms on the retailer’s page.


